Background

.....................Follow Me

Showing posts with label Spellbinders. Show all posts

Wednesday, September 21, 2011

True Gift

Time for another card for Classy Cards 'N Such. You just have to check out their store. Lots of must have dies, stamps, bling, paper, ribbon and oh so much more.


In this day and age of buy, buy, buy, the front of the card sentiment has special meaning for me. Most of you know I have nearly 50 grand and great-grand kids and buying "stuff" for them is a real strain on the budget. I think it's nice to get back to giving of ourselves instead of buying the latest and greatest must haves.  I do have to admit though, I am one of those who always wants the newest dies, stamps, ect. for myself so this lesson is definitely for me!

Enough of that.....lets get out our supplies and make a card.

I had this greenish paper lying around in my cabinet and just never found a good use for it. Then I thought, green and pink and it just seemed to work for me.  The gorgeous doily is the Italian Flourish Doily and it is wonderful cut from card stock. In front of that is Spellbinders Scalloped Ovals but Spellbinders Lacey Ovals would work as well.  The pearl bling is Finesse Swirls White Pearls which I really love.

The border edge is a Die-Namics border. The bow is made with pink seam binding and to that a nice little stick pin was added.   The flower I made using a three inch strip of satin that I cut into several sized circles and burned the edges with a flame. It is secured with a cute pink dotted brad.

Now for the inside:

I used the Spellbinders label 8 in two sizes and trimmed it with the Cheery Lynn Fanciful Flourish.  I trimmed a bit off of it to put on the upper right and added a few Want 2 Scrap pink pearls. The Wishing you stamp is from Verve. I then inked the edges of the card using Ranger Brushed Corduroy.

I hope you enjoy making your card today and thanks so much for dropping in for a visit. If you haven't already, please sign up to follow me so that you will know when new cards are posted.

Have a wonderful "creative" day!

Wednesday, August 24, 2011

Christmas Joy Card

Christmas Joy


The weather is still terribly hot here, 117 degrees yesterday! Thinking about Christmas this time of year is just what the doctor ordered.

School Adventures has gotten in some new Cheery Lynn dies and they were perfect for this card.

I started with some Bo Bunny Christmas paper and made this card 5"x7" to give it more height so that I could use the Spellbinders Lace Border die at the bottom.  I trimmed off some of the top of the Lace Border die to give it more of a Victorian Christmas tree fence look.  In the early 1900's small feather trees were commonly set onto a table and surrounded by a cute Victorian fence. This die can be used in many different ways.

The Christmas tree is a die from Cheery Lynn called O' Tannebaum. The scroll at the top is also from Cheery Lynn called Victorian Romance Flourish. Behind the the Christmas tree is Spellbinders Labels 4.  All of these dies are available locally at School Adventures.  For you internet buyers you can some of find them at Classy Cards 'N Such and some at Amazon

Thanks for stopping by. If you have any questions about this card or others just leave a comment and I will get back to you.


Wednesday, August 17, 2011

Happy Birthday Card

Here is another card designed for Classy Cards 'N Such.


This card made for Classy Cards 'N Such was so much fun to make. Don't you just love that peacock peeking out from behind the lattice fence. He is from the most wonderful 6x6 paper pack from Webster's Pages called Hollywood Vogue and Wonderful Fall. I have lots of plans for this super little paper pack!  The  French Pastry Doily and Exotic butterflies are made from a wonderful glossy paper. I wish it photographed as beautiful as it is but alas some things you just have to see in person! It is called Star Dream Emerald and you can get it here . It comes in several colors. You will be so pleased if you try it. It is card stock weight and just sparkles.  Be sure to check out the Classy Cards 'N Such store. They have some super things and you can use my discount code Pati-10 until October 31st on your whole purchase.

Supplies:
Paper:        Webster's Pages Hollywood Vogue 6x6 paper pack
                   Star Dream Emerald card stock
                   Black Bazzill card stock
Dies:          Cheery Lynn French Pastry Doily Die,  Exotic Butterflies
                   Tim Holtz     Birdcage Bigz Die
                   Spellbinders Scalloped Circles, Tags Three
Punch:        Martha Stewart Lattice
Flowers:     Prima

Card entered in Colour Q Challenge #98
                          Totally Gorjuss Challenge #93
                          The Shabby Tea Room #75

Tuesday, August 9, 2011

Fancy a Cuppa Tea Card

Remember my last post? Well here's another Tea time card!   One just wasn't enough. Actually I needed another tea time card for the Shabby Tea Room challenge and I wanted to show you this beautiful heart die set by Cheery Lynn. 

For you local gals, it's available at School Adventures (my LSBS). You actually get three dies with heart cut outs and one large scalloped solid heart.  When you diecut the two largest you also get a solid heart from the center cut out. 
 
I used the middle sized one for my card using both pieces, the lacey heart and the solid center.  The heart in the background of the card is a Spellbinders scalloped heart. 

All of the supplies today are available at School Adventures. 

For those of you that aren't local, you can get most of this from Amazon.

Supplies:
Dies:               Cheery Lynn Heart to Heart Lace Doily
                        Spellbinders Scalloped Hearts
                        Spellbinders Ovals
Paper:             6x6 Moulin Rouge collection by Prima
Pearl Swirls:   Kaiser
Ink:                 Tim Holtz Distress Ink, faded jeans

Have fun with your card making;

This card entered into:


Friday, August 5, 2011

Tea Time Shabby Chic Card

Shabby Chic style Card


Tea time, what memories that has for many of us.  Just relaxing with a good hot cup of tea, sharing with a friend, talking about all the fun times. If you're not a tea drinker maybe it was coffee time or a soda at the fast food resturant or cookies and milk at home that evokes all those wonderful memories. In any case, it's nice to just relax and take time for all those special people in your lives.  If you can't have a cup of tea, coffee, soda or cookies and milk with them right now, how about sending them a card like the one above. Share a memory or two!


Supplies:
Paper:     Designer Paper Pack by K&Co. and 6" Paper Pad KaiserCraft     English   Rose Collection
Dies:       Spellbinders Frame
Stamp:    Hot Off The Press, Fancy A Cuppa
Flower:   Prima

Supplies can be purchased or ordered from School Adventures (my local SBS)

Directions:

 I used one of the papers from the Kaisercraft paper pad then added a cut out strip from the English Rose Collection down the side. I added the lace trim, adhering to the back of the paper and attached to the card base. Then I die cut the frame from ivory cardstock and inked the edges with Tim Holtz Brushed Corduroy distress ink, . The tea pot and sentiment were stamped onto another paper from the Kaisercraft paper pad using Memento Rich Cocoa inkpad and then colored with Copic Sketch markers. They were also inked on the edges.  Adhere everything and add flower and pearls.

Have a wonderful Friday and a super weekend!


Card entered into:
The Shabby Tea Room
Week #73 Mix and Match

Wednesday, August 3, 2011

Wishing You Birthday Card

This card was designed for Classy Cards 'N Such, a super online card making and paper crafting supplies website. Be sure to hop on over there and see all the goodies Beverly has for sale.


Don't you just love this gorgeous pink ribbon, it has ever so light stripes on it and it has a wonderful drape to it. The card itself was made using the Spellbinders–™ Grand Nestabilities–™, Grand Big Scalloped Circles, which I cut out using my Vagabond. I can cut the three smallest circles with either the Big Shot or the Vagabond. I believe you could also use the Cuttlebug. The three larger circles would require a larger format die cutting machine such as the Grand Calibur.  I also used the Spellbinders™smaller scalloped circles set for the sentiment and backing.

All of the pearl bling came from just 1/2 package of the want2scrap Finesse Swirls. Very economical as you can get more than one card decorated from each package.

The sentiment is Verve Stamps Wishing You set. Be sure to check out Classy Cards 'N Such Blog  too.

Hope you've enjoyed your visit and be sure to stop by again.


Thursday, July 28, 2011

Tulips Candles and Wishes Easel Card

This card was photographed before I had set up my tent so the quality is not as good!


I have a sister-in-law that has always been an inspiration to me. She is one of those people that you admire for her honesty, integrity, humor, kindness and overall pleasing personality. My kids have always called her Saint Jean!  I made this card for her two months ago when I came across this tulip paper by Reminisce. She has always loved tulips. Her birthday was this week and the card sent off so I can post it now.

I love the easel cards and they are so simple to make.  I hope she enjoys it and you are inspired to make one yourself.

Supplies:
Spellbinders Motifs
EK Success Border Punch
Stampin' Up Whimsical Words and Heard From the Heart
Reminisce In Bloom Paper

Later this week I will be posting some Blog Candy!  Stop in and leave a comment on that post to be included in the random drawing for a little treat!

Thanks for stopping by;

Wednesday, July 20, 2011

Oh Boy !


I thought today I would move a little out of my comfort zone and make a boys card using an unusual embellishment, (at least for me), cardboard!  Now I'm sure most of you have done this many times but I have never attempted it before.  So off to the garage I went and ripped off one of the flaps from a box and then peeled one layer off.  I used my Spellbinders star Nestibilities to cut it out and a smaller size of the same die to cut out the center. Then instead of throwing the cut out away I just attached a button and used it too. I painted them both with an Adirondack Metalic paint Dabber in Pearl to give it some color. Not usually my cup of tea but I was happy with it.

Supplies:
Tools:    Spellbinders Star Nestibilities
Paper:  Graphic45 Playtimes Past Collection, Mary Mary Quite Contrary   and K&Co Tommy's Toys Blue Plaid (an old collection).
Sentiment:  Verve, To The Moon

Card entered in:
 

Thanks for stopping by.


Saturday, July 16, 2011

Cherries


Been a busy week but I finally had a chance to think about a card.  Our local grocery had a new supply of cherries this week. They were so good and I remembered this piece of Webster's papers that was hiding in my stash. Perfect! Cherries it was. I decided to simply to go with the sentiment that was printed on the paper so I just added some scalloped trim, a bow, a crepe paper flower and a little cut out behind the bow for added dimension.

In all it was pretty simple and just what I needed for a quick card.

Lace border:    Martha Stewart
Ribbon:            Rayon Seam binding
Flower:            Crepe Paper
Doily:              Spellbinders

Thanks for stopping by and have a wonderful weekend.

Monday, July 11, 2011

Christmas In July #Two

This year seems to be going extra fast! It's almost the middle of July already. I've been looking around the net and I'm not the only one thinking about Christmas. It's kind of fun to work on Christmas cards this early. I hope you all feel the same. Just think if you start now you won't have to be in such a rush come December. I had this Bo Bunny paper stuck in a drawer and it was just calling out to be combined together. I usually stick with the standard red and green but wanted something different and this is what I came up with.
Supplies: 
Paper:    Bo Bunny a Gift of Love
Tools:    Spellbinders 2010 Heritage Ornament, Scalloped Ovals, Regular
              Ovals and Labels 4.  MFT Die-Namics Dizzy Border.
Ribbon: Hand dyed seam binding.
Sentiment:  An old one that no longer has it package, sorry.

I wanted a smaller ornament for the backing than the next size up in the set so I just hand cut with an exacto knife around the outside of the ornament I used for the ornament itself. Hope that makes sense to you, it's kind of hard to explain.

Card entered in: MFT WSC Getting Sketchy #27
                           Christmas Challenges #4
                           Sparkles Forum Christmas Challenge 
                           Moving Along With The Times Christmas Challenge #106 
                           Bling It On Challenge #5
                           Craft Us Crazy  Christmas in July

Saturday, July 9, 2011

Peaches and Cream

Peaches and Cream


Summertime and the livin' is easy.......Peaches and cream, oh how good that was when I was growing up. My dad grew the best peaches and he always shared his coffee cream with me to pour over them. Somehow, this card reminds me of of that. Just a simple card, nothing really fancy, just like my dad was.

Supplies: Spellbinders scalloped squares. On hand ribbon and some paper from my stash.

Enjoy your wonderful summertime week-end and thanks for stopping by.


Wednesday, June 29, 2011

Christmas In July

Christmas In July

Well, it's not quite July yet and it is 112 outside today! I thought I'd work on a Christmas card and it might help cool me off. It actually did have me humming Christmas tunes. Really, if you make a lot of cards for Christmas it's never too early to start.

This card entered in:
challenge #68


Supplies Used:
Ornament:     Hand Cut
Martha Stewart: Scalloped Lace Border Punch
Spellbinders : Scalloped Rectangle
Sentiment:  Heartfelt Creations Joyous Noel Pre-Cut Set
Paper:  Bo Bunny Noel Holly, Basic Grey Jovial naughty, 
            Bazzill cardstock

Have a wonderful and cool day,


Friday, June 24, 2011

Just For You

This is the my challenge card for MFT Getting Sketchy #24.


I have been trying to use up some of mountains of paper that I seem to have acquired. You know how it is, see it, gotta have it, put it away, forget it..... well this card evolved out of some black and cream paper that I have no idea when or where I got it. Actually I most likely got it from School Adventures (my LSBS).  Anyway it really makes me feel good to use up some of what I have.

The doily is my favorite MFT (My Favorite Things) Dizzy Doily. Spellbinders Labels 20 is the center tag. An EK Success border punch was used for the scallops and circles border. The flower is another of the Satin Roses that I made using several sizes of circles and burning the edge.  

Have a super day!

Friday, June 17, 2011

Spellbinders Dies Storage Book

This is my take on one of the best ways to store your Spellbinder Dies, My Favorite Things Die-Namics, Cherry Lynn Design Dies or any of the thin metal dies that are on the market today. I will be teaching a class on this at our local scrapbook store, School Adventures.


I covered the front quite simply as it will most likely be handled quite a bit and bulky embellishments would just not work.  The side border is done with the Martha Stewart Deep Edger Punch Floral Vine. The label is a combination of Spellbinders Labels 20 and Fancy Tags 2. The corner pieces are from Spelllbinders Fleur De Lis Accents. Binding was done with a wonderful new product from We R Memory Keepers, the Cinch. The pages are all black chipboard. You could take this farther and label each die under it's location or put tabs on the side for circles, squares, ovals, ect.


I wanted the inside to be simple and just do what it is supposed to do, keep the dies neat and easily plucked from their magnetic holders. It is always difficult to remove them from their sticky tape on the packaging every time you need them and they are easily bent. This way they just come right off and go right back on. No opening that plastic thing that always cuts my finger and fighting with the sticky tape.


Just another view of the inside of the book.  I hope you've enjoyed your visit today and have a wonderful week-end.

Wednesday, June 15, 2011

MS Double Arches Happy Birthday Card


I seem to be into red lately.  Today's card is another using that wonderful Martha Stewart Double Arches Punch set. It makes the nicest frame and is so easy to do.   The center white block is embossed with the Sizzix Dots and Ribbons embossing envelope and I added some red rhinestones from Spellbinders Want 2 Scrap Nestablings.  The sentiment was stamped onto Spellbinders Label 20 and backed with a larger version. Red ribbon bow, white corsage pins and white roses complete the card. I added a row of double arches to the bottom of the inside and a white Spellbinders Label 1 in order to add more sentiments to the inside.

Locally School Adventures has the MS Double Arches Set. They are currently out of the Sizzix embossing folder but it should be in anytime.


Sunday, June 5, 2011

Garden Gate Fabulous Day

I thought I would showcase some of the Cheery Lynn Design dies that are available at School Adventures.


I made this card using a page from the Butterfly Garden 6x6 paper pack.  Martha Stewart's Lattice punch forms the right side. The Garden gate, butterfly and the leaf swirl are from Cheery Lynn Designs. The vines flower buds are Dew Drops. The tag is Spellbinders Fancy Tag Two. Flowers are Prima. All these items are available from School Adventures.

If you are enjoying the card ideas, please add yourself to "Follow Me" on the right side of this blog.   And with that I wish you all a Fabulous Day!

Friday, May 27, 2011

Graduation Card


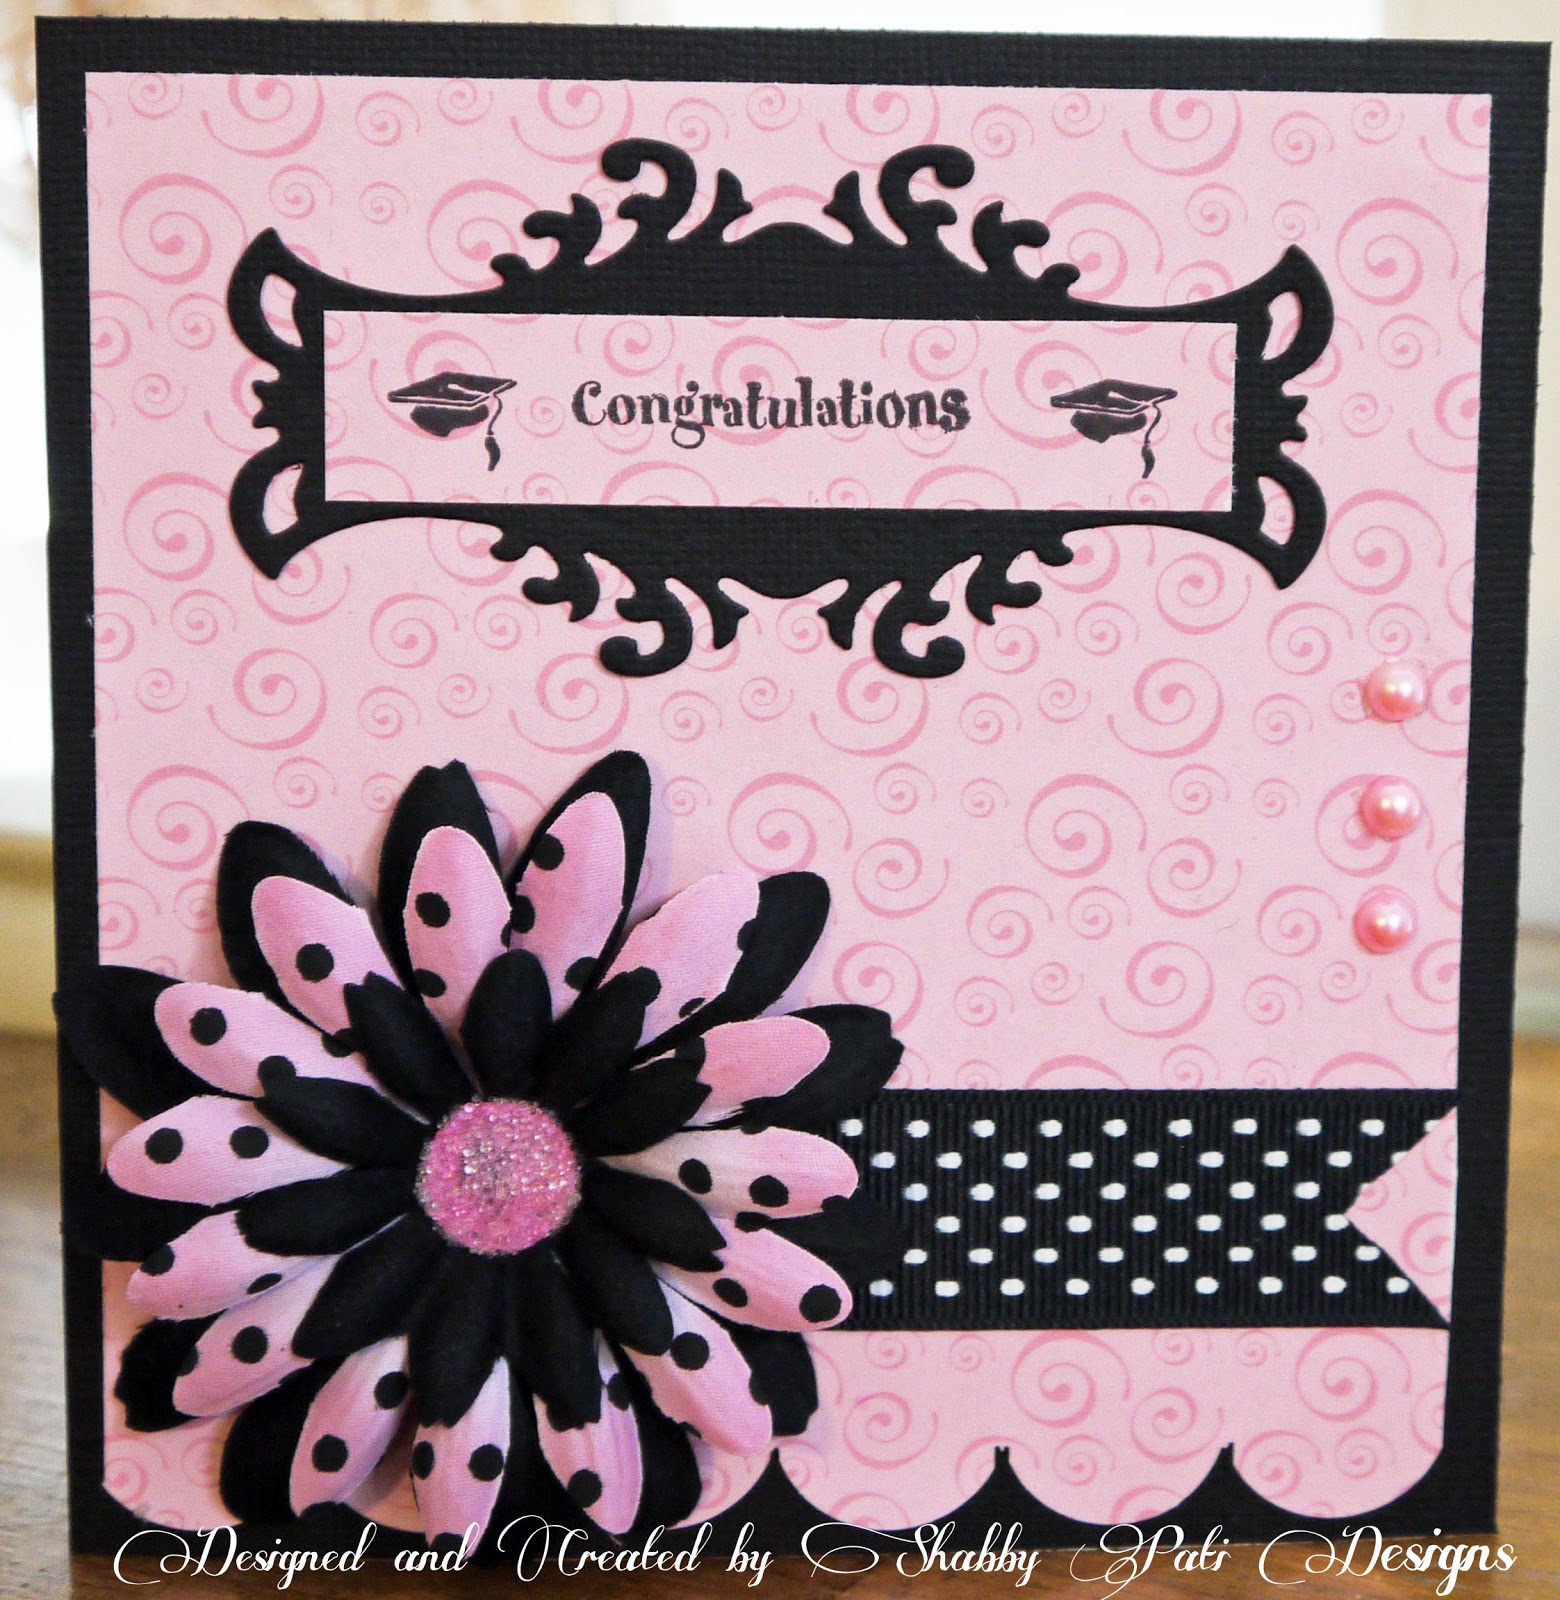
I made this card for my grandaughter's graduation from High School.  I wanted something "girly" and this worked out well. The label is Spellbinders Fancy Tags Two. School Adventures had gotten these in and sold out. Check with Debbie to see if the new order has arrived. Flowers and ribbon are from my stash.  Pink Pearls available at the store. Black cardstock by Bazzill.


Thanks for looking and have a wonderful Memorial Day Weekend.